
Use case
Rescue Photos from the VHS Era

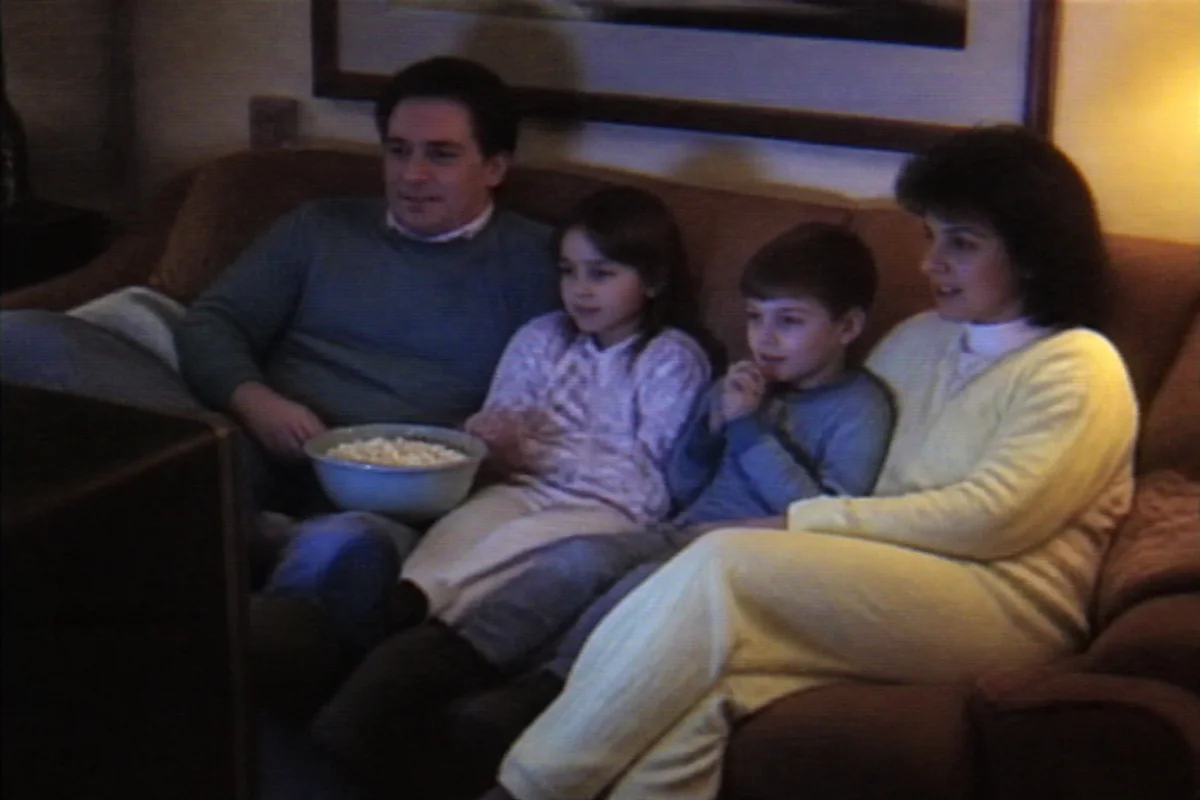
Watch the rescue unfold — pull the slider across.
The camcorder generation left behind a peculiar archive: fuzzy prints made from paused tape, snapshots shot on the same night as the home video, and frame grabs pulled off a VHS transfer decades later. The colors smear, the scan lines show, and the resolution was low even before the tape aged.
These images respond dramatically to AI treatment precisely because they start so rough. Denoising clears the analog fuzz, color correction rescues the tape's drifting hues, and upscaling with sharpening turns a 240-line frame grab into something you can actually post for a parent's birthday.
If you're digitizing the family tapes, pull the frames you love and run them through — the moment Dad blew out the candles in 1993 deserves better than tracking-line quality.
The problems this solves
- Frame grabs from tape are soft, noisy, and streaked with scan lines.
- Analog color drifts — reds bleed, whites hum with a purple or green cast.
- Resolution is far below what any modern screen expects.
- The companion snapshots from the same era carry heavy flash and grain.
A workflow that works
Clean the analog noise
Tape fuzz and grain are the first wall between the viewer and the moment — clearing them lets every later step work better.
AI DenoiseCorrect the drifting color
Analog color shifts unevenly; correction pulls skin tones and room light back toward believable.
AI Color CorrectionSharpen the soft frame
Paused-tape softness responds well to deblurring once the noise is out of the way.
AI Unblur ImageUpscale to modern resolution
A VHS frame is a fraction of a phone screen — upscaling makes it presentable at full size.
AI Image UpscalerFrequently asked questions
How do I get a photo out of an old VHS tape?
Digitize the tape first (a cheap capture device or a transfer service), then screenshot the frame you want from the video file and upload that image here for cleanup.
Can a blurry frame grab really become a good photo?
It can become dramatically better — noise gone, color settled, detail sharpened. Fine detail is reconstructed rather than recovered, so review faces before printing anything large.
What order should I apply the tools in?
Denoise first, then color, then sharpen, then upscale — cleaning noise before sharpening keeps the fuzz from being amplified. Each step takes seconds, so experimenting is cheap.
Is there a free way to try this?
Signup includes 4 free credits — enough to rescue your favorite frame and see the difference before doing the whole tape.
Related use cases