
Restore & revive
AI Photo Restoration
Bring a faded, damaged family photo back to life
Starter credits come with your account — and there's no card to enter.
- 1Scan or photograph the old print and upload it at /create
- 2The AI mends damage, clears fading, and rebuilds soft detail
- 3Compare against the original scan and download the restored photo
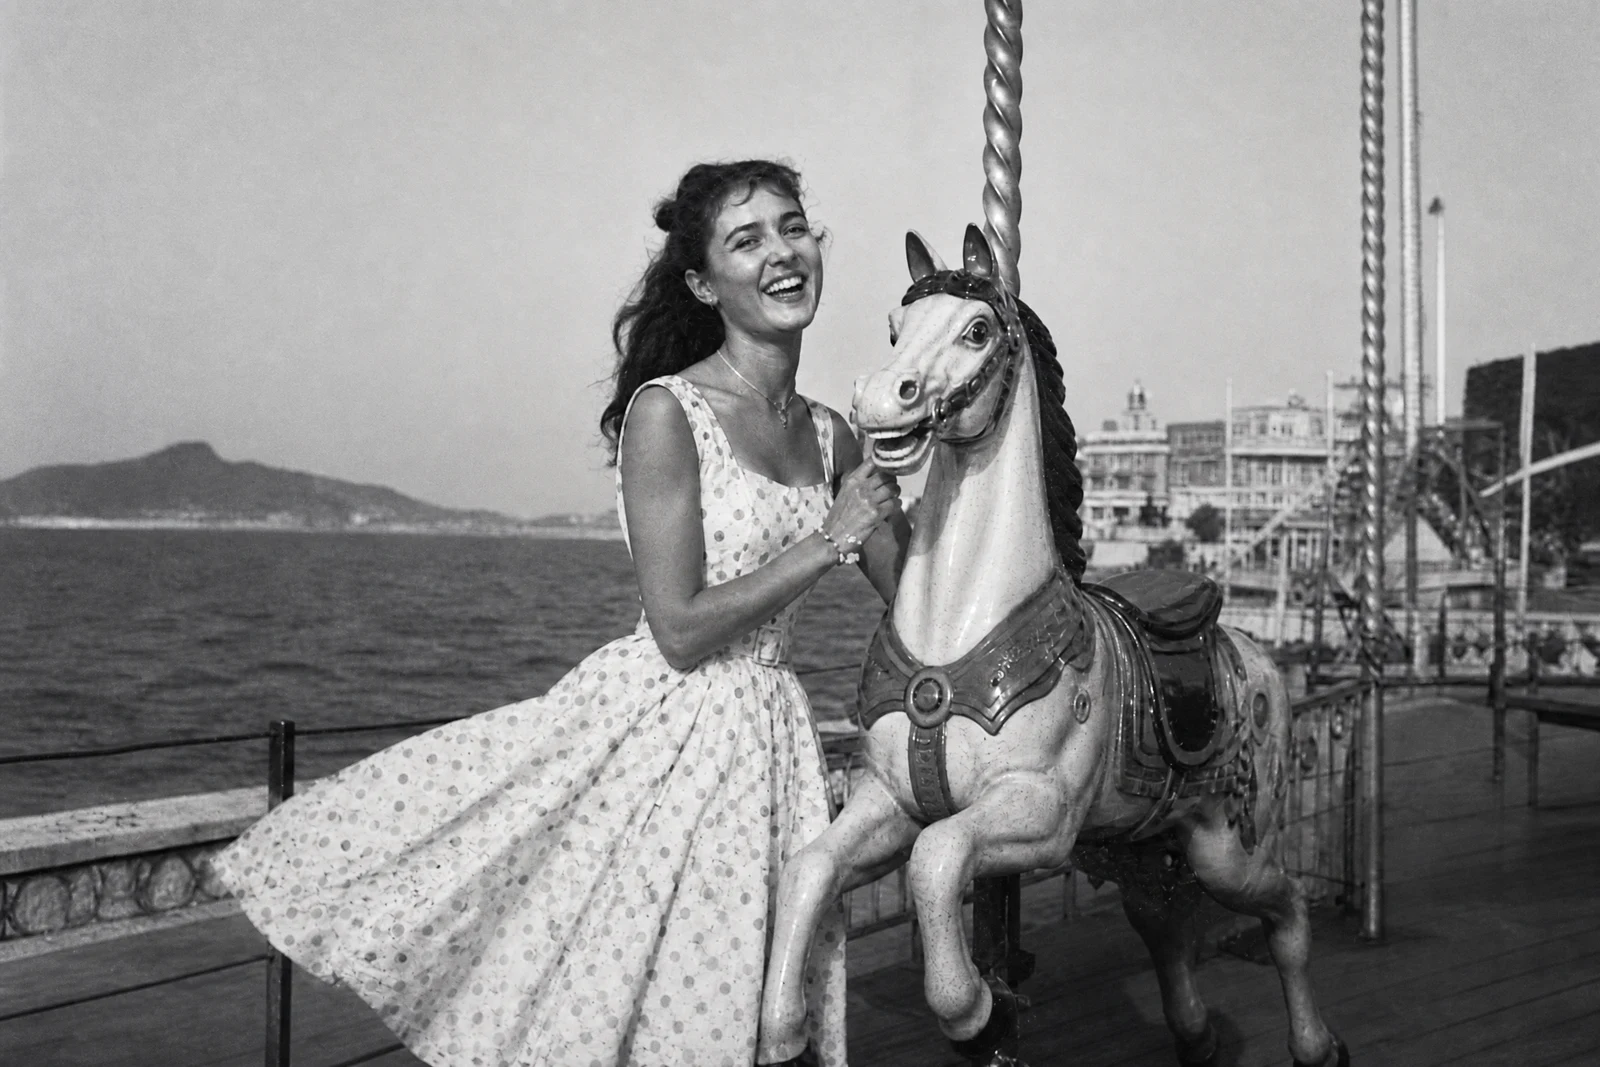
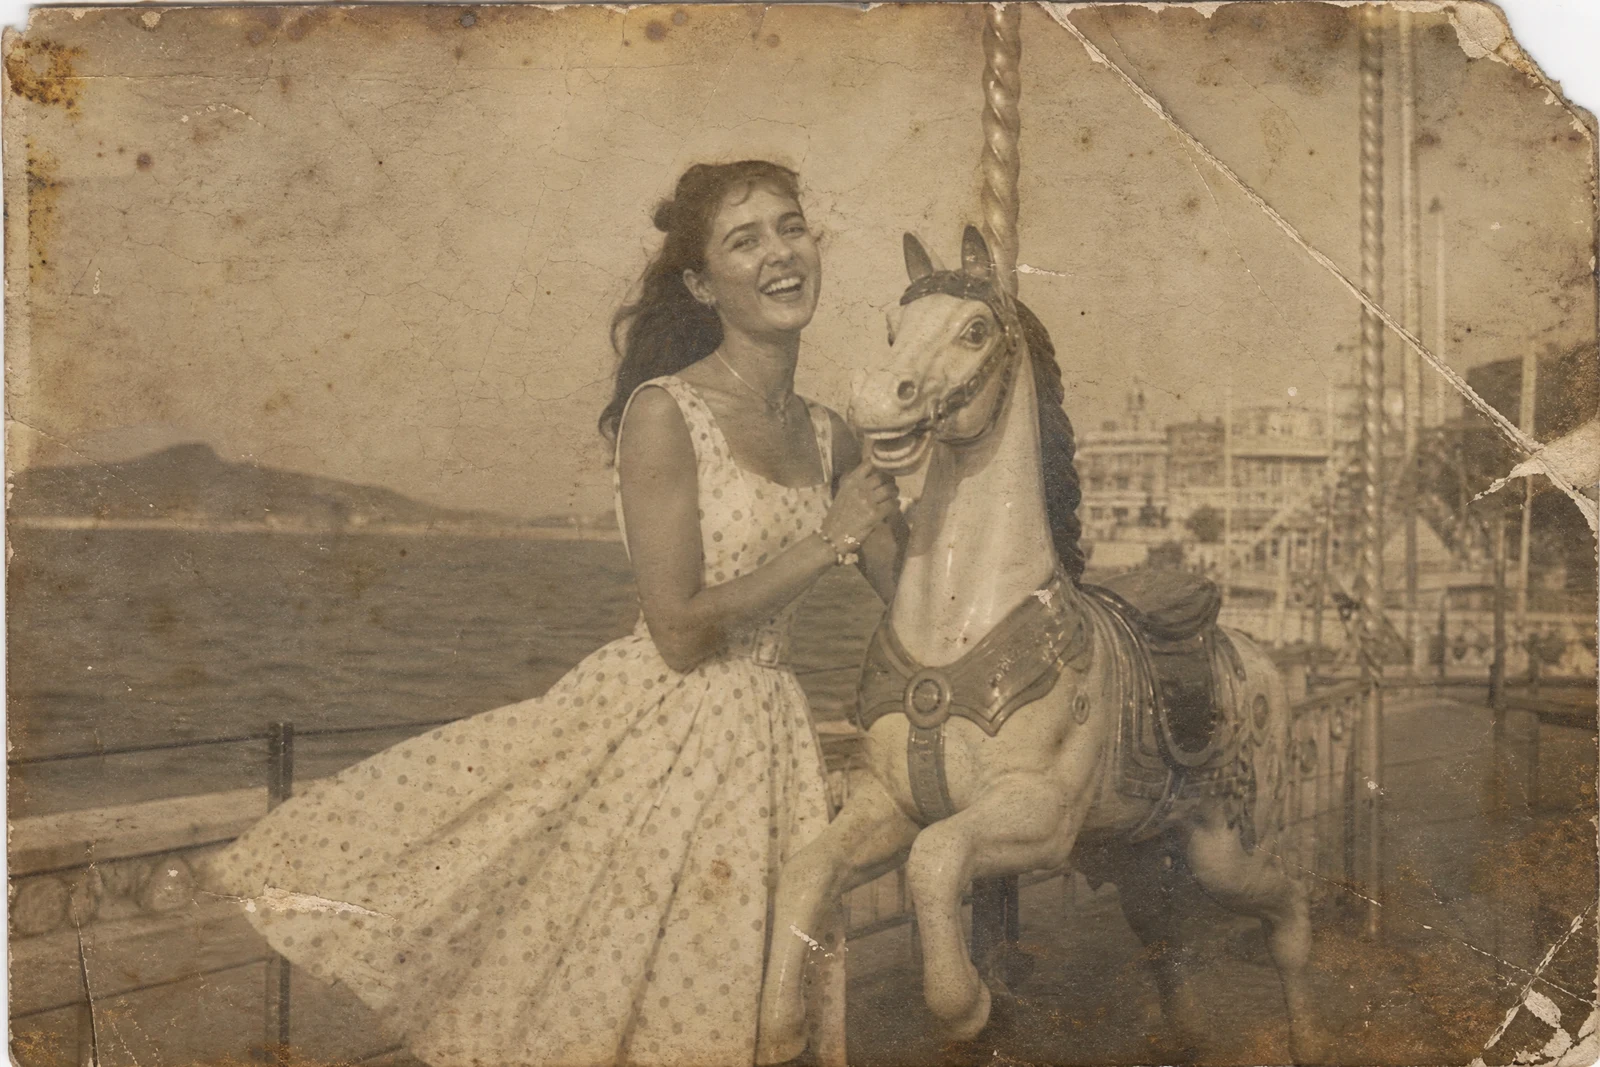
Straight out of the editor, unretouched — slide the handle to see the change.
Somewhere in a drawer or a shoebox there is a photo that matters: a grandparent's wedding day, a house that no longer stands, a face you have not seen in years. Decades of light, humidity, and handling take their toll — the print yellows, the emulsion cracks, and detail that once felt vivid slowly disappears. Restoration used to mean mailing the original to a specialist and waiting weeks; now it takes a scan and a few seconds.
Upload the scanned photo and the AI works through the restoration the way an archival technician would: mending cracks and creases, clearing spots and discoloration, rebuilding softened faces and clothing detail, and lifting the tones back toward how the print looked when it was new. The character of the original — the era, the grain, the expressions — is the whole point of the exercise, so the restoration is aimed squarely at the damage rather than at modernizing the image.
One pass handles most photos. For prints with deep gouges or torn corners, follow up with Scratch Repair for another targeted pass, then send the result to the Photo Colorizer if you would love to see a black-and-white memory in color, or the Image Upscaler to prepare a large reprint for framing.
Why this tool
- Send what you finish here straight into every other tool
- Standard, Pro and Max quality tiers
- Results land in your creations library
- Enlarge for printing, or set the still photo in motion as video
Frequently asked questions
How should I scan the original print?
A flatbed scan at 300–600 DPI is ideal, but a phone photo works well too: shoot straight-on in soft, even daylight, avoid flash reflections, and fill the frame with the print. The more of the original detail the AI can see, the more it has to work with.
What kinds of damage can it handle?
Fading, yellowing, silvering, spots, creases, light scratches, and soft focus are all typical jobs. For heavy physical damage such as long tears or missing corners, run Photo Restoration first and then a Scratch Repair pass on the result.
Will the photo still look like the original?
The restoration is pointed at the damage, not the content — the goal is the photo as it looked the day it was printed. Because generative repair rebuilds missing areas, always compare side by side with your scan and re-run if anything feels off.
Can I try it free?
Yes. Signing up gives you 4 free credits — enough for one Standard-quality restoration — so you can rescue your first photo before paying anything.
Can I try AI Photo Restoration for free?
Yes — every new account starts with 4 free credits, enough to run this tool once at Standard quality. No credit card required.
Related tools